Dry Creek Falls via the Pacific Crest Trail is a really nice hike in Oregon’s Columbia River Gorge area to an amazing plunging waterfall. The hike itself is a steady incline through lush, green forests, ground-covering ferns, and giant slugs crossing the path. It looks like a scene straight out of the movie, FernGully. When I was researching this hike, I found very little on what to expect. While hiking, there were a few instances where I was not sure if I was going the right way, so I decided to jot down my experience so others are better prepared.
Disclaimer: This post may contain affiliate links so if you make a purchase or booking through one of our links we might earn a small commission (but don’t worry, it’s no extra cost to you).
Dry Creek Falls Trail Stats
- Trail Length – 4.4 miles
- Elevation Gain – 885 feet
- Difficulty Rating – Moderate
- Route Type – Out and back

When to Hike Dry Creek Falls
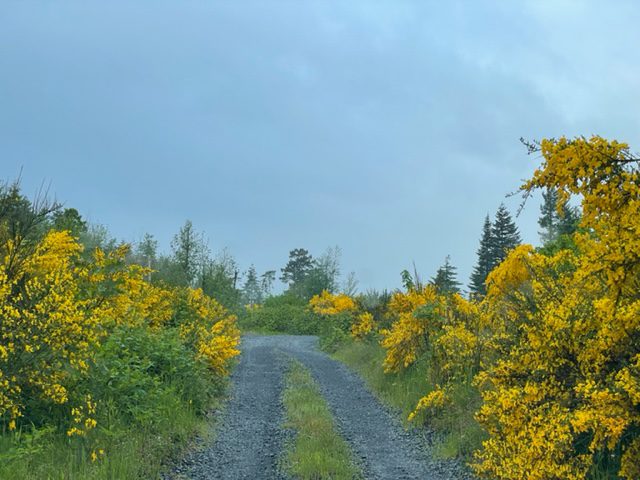
The best time to visit the Columbia River Gorge is April to June and September through October when crowds are not quite as busy as the summer. July and August are the best times to visit for sunny days if you do not mind the crowds. April to June can be very wet and rainy, but it is also wildflower season which adds to the beauty of this area. Because of its close proximity to Portland, any weekend will be flooded with locals getting out of the city for a couple days.
For reference, I got to the trailhead around 7:45 am the Sunday of Memorial Day weekend and was the first car in the parking area. After getting to the end of the trail, I had the waterfall to myself for 15-20 minutes before the next group of people showed up. Then, on the way back to the parking lot, I passed around a dozen groups of people making their way up the trail. While this hike was not busy at all early in the morning, it did not take long for the parking lots to fill and the trail to get crowded. So I do recommend getting here early.
How to Get to Dry Creek Falls
Dry Creek Falls trailhead is located about 40 minutes east of Portland. To get to the Columbia River Gorge from Portland, take I-84E/US-30E. Take Exit 44 to Cascade Locks.
Where to Park for Dry Creek Falls Trail
There are two parking areas where you can park to get to the Dry Creek Falls trailhead. The first is Toll Bridge Park and other parking area is the Pacific Crest Trail – Cascade Locks. Take the Bridge of the Gods/Toll Bridge Park exit as you arrive in Cascade Locks and park before you cross the bridge. The bad thing about this parking area is there are only a handful of parking spots, and there is a $5 daily pass fee. (It is free to park here if you display your NW Forest Pass or National Park Interagency Pass.) The great things about this parking area is the restroom!
The Pacific Crest Trail – Cascade Locks parking area is larger than the Toll Bridge Park with approximately 20 parking spots available. However, there is no restroom in this location which might be a problem. The trailhead is located just across the street from this parking lot, so you will cut around 0.2 miles from your hike if you park here. To get here, turn right on SW Wasco Street just after the Bridge of the Gods/Toll Bridge Park exit. At the next street, turn right onto SW Moody Avenue, and then turn right on Harvey just after you drive under the highway.
What Not to Do
Do not follow Google Maps to Dry Creek Falls. I made this mistake, and Google Maps took me to this single lane, gravel road up the mountain side. The roads were rough, muddy, and flooded with water in some areas. Then, Google Maps led me to an abandoned shack in the woods and claimed this was the trailhead. Luckily, I still had cell service so I could do some research and realized I was in the wrong location. If you are using Google Maps, put Toll Bridge Park as your destination so you do not make the same mistake I did.
What to Pack on Dry Creek Falls Hike
- Water!! I recommend bringing a refillable water bottle or two. Oregon charges a tax on plastic bottles, so it is best if you use a refillable one. Not to mention, it is better for the environment!
- Bug Spray – Keep those pesky bugs away!
- Sunscreen – Protect your skin from the sun, and do not forget to reapply.
- Hat – More sun protection to block the sun from your face, but the hat can also keep rain off your face.
- Hiking shoes/boots – These are waterproof so walking on the beach or in muddy areas will not be a problem. Here are the men‘s version of the hiking shoes I love.
- Hiking socks – The best way to prevent blisters is by keeping your feet dry. Moisture-wicking socks are the best way to do that.
- Backpack – A backpack is a necessity when hiking to carry your water, snacks, sunscreen, etc. that you may need on your hikes.
- Rain Jacket – Rain can (and probably will) occur at some point while in Oregon, so make sure to pack your men’s or women’s rain jacket.
- Waterproof Pants – If visiting in the rainy season, waterproof pants will help keep your legs dry. Men’s Pants.
- Jacket – Even in warmer months, the temps can be cool so pack a light men’s or women’s jacket.
Beginning the Hike from Toll Bridge Park
After parking at Toll Bridge Park, you will access the trailhead from across the street. Be careful when crossing the road here as it is heavily trafficked from people accessing the toll bridge, and the curve of the road makes it difficult to see oncoming traffic. Also, there is not a crosswalk here, so cars are not looking for pedestrians.
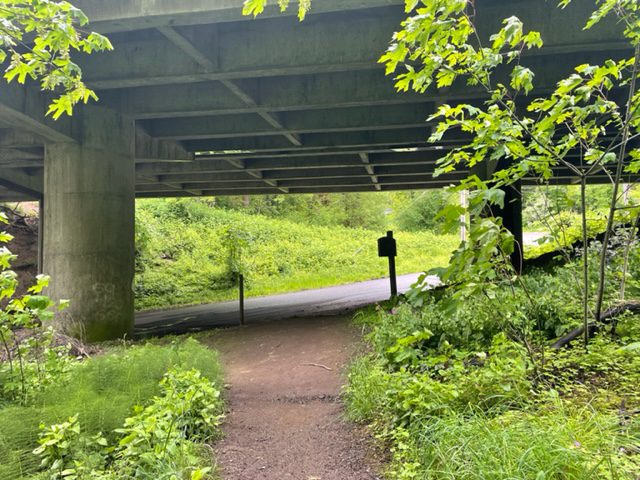
After a short walk, you will get to the highway underpass. Walk under the highway and make a slight right onto the road in front of you. You will have to walk along the road for a short distance, and then make a slight right onto Harvey Road. From here you will see the second parking area on the right.
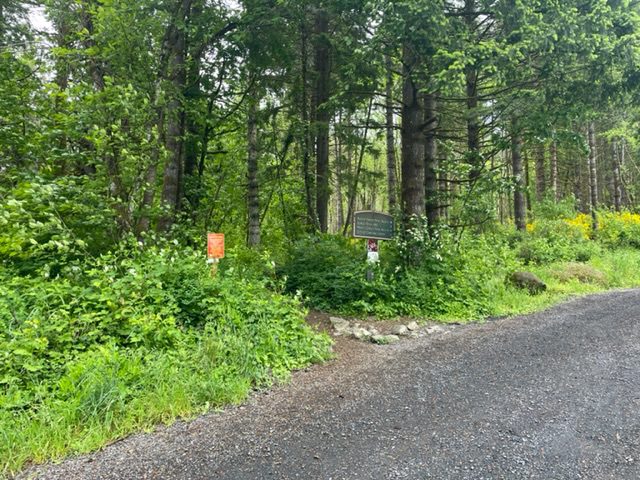
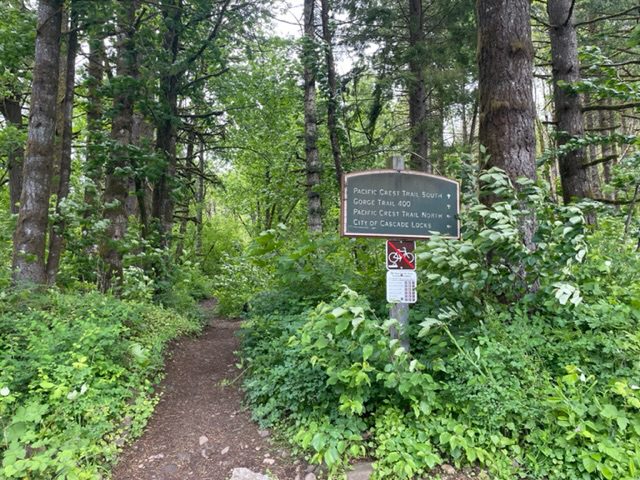
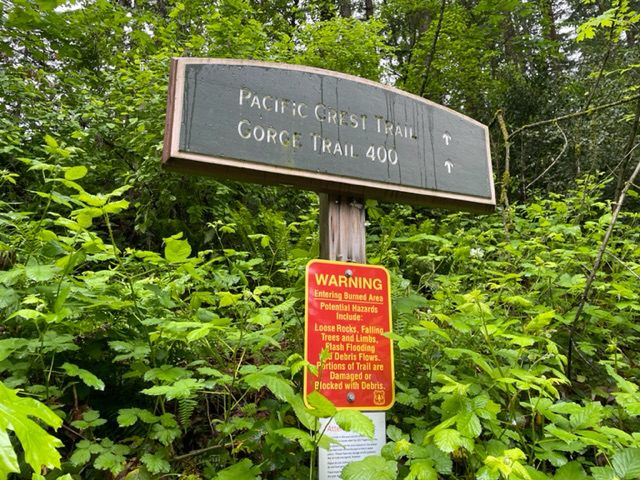
Across the street from the parking lot, turn into the woods and follow the sign to Pacific Crest Trail South and Gorge Trail 400. This is where the fun part of the trail begins.
What to Expect on the Dry Creek Falls Trail
When I hiked this trail, it had been raining quite a bit. Therefore, the trail was extremely muddy, especially the first half mile or so. It was so muddy that I slid, lost my balance for a split second, and dropped my phone right in a muddy puddle. If it has been raining, be careful trekking through this part of the trail. The rest of the trail is more rocky, so it is less likely to be muddy.
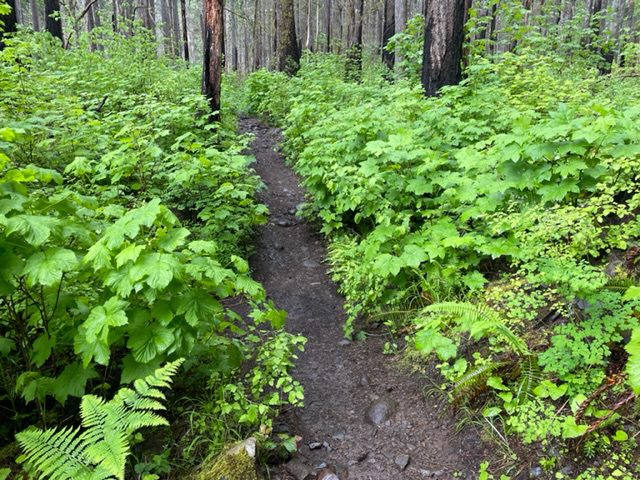
Much of the trail is narrow with the vegetation overgrowth spilling into the path. If it has been raining, the wet leaves will rub against your pants making them damp. I actually decided to slide on a pair of waterproof pants to avoid risking getting my pants wet. I had a long day of hiking ahead of me and did not want to spend the day in wet clothes.
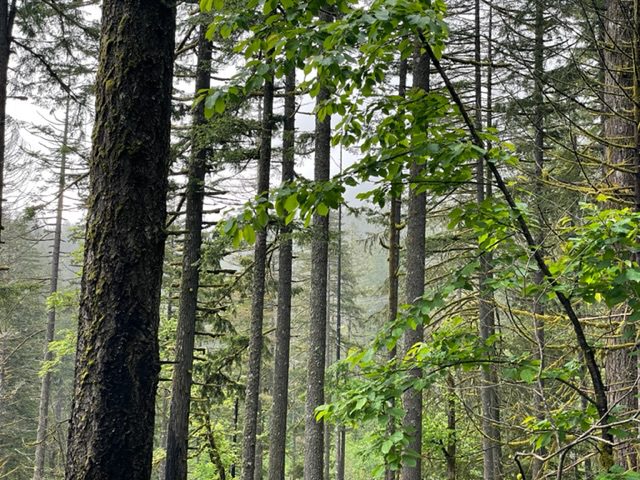
Once you get past the first half mile or so, the ground vegetation thins out, and the majority of the path is through thick forested woods.
First Intersection
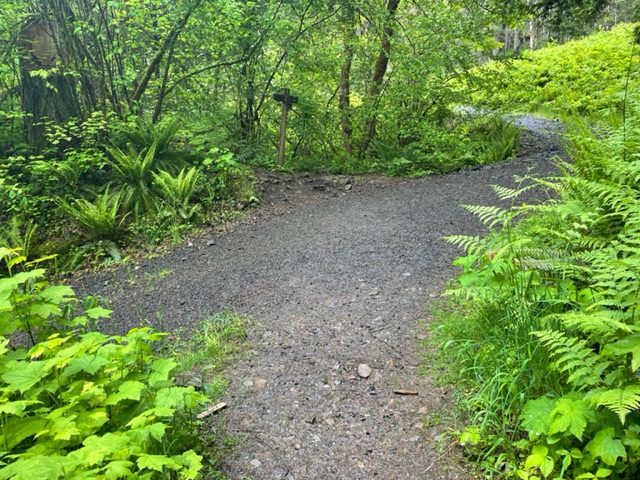
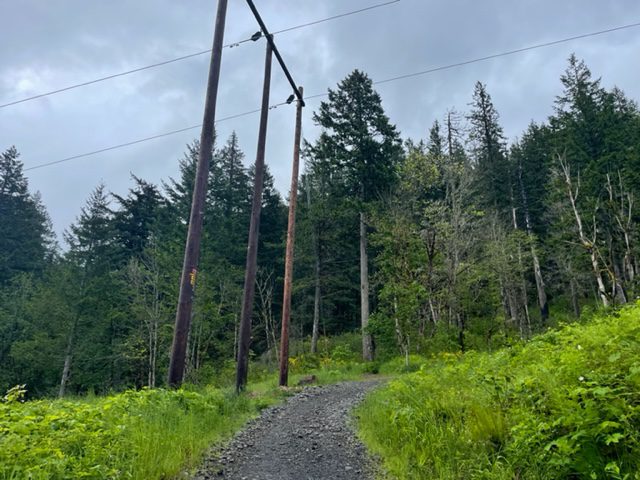
About 1.25 miles into the hike, you will come to the first intersection. As you approach the Y, make a slight right on the trail where the path widens to the size of a gravel road. You will soon get to overhead powerlines that you will have to walk under.
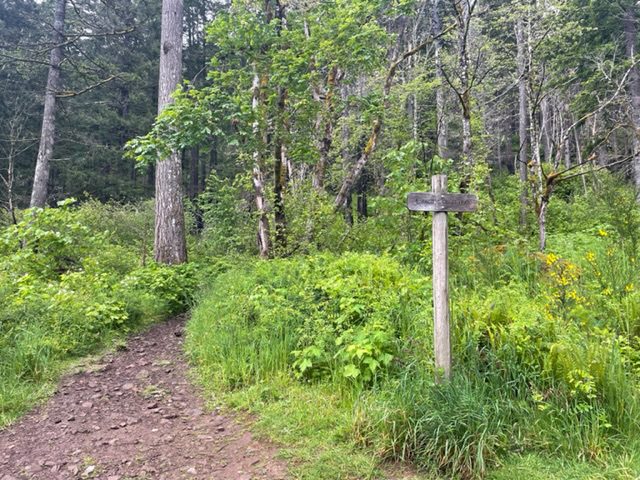
As soon as you pass the powerlines, take the narrow trail to the left towards the Pacific Coast Trail. There is a very small wooden sign that says “Pacific Crest Trail” marking the way.
Second Intersection
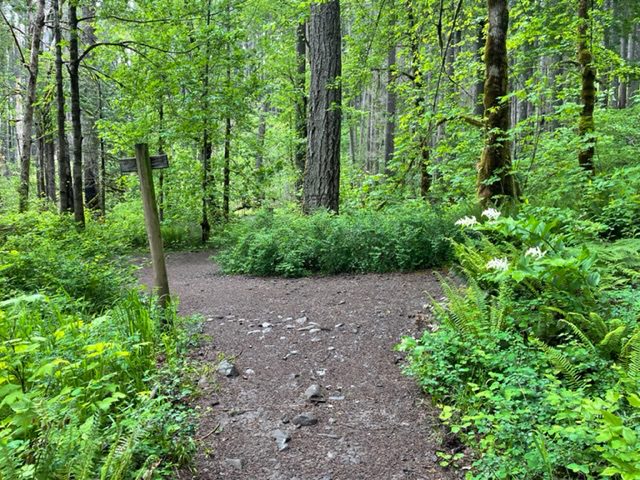
At the 2.0-mile marker, you will get to the second (and final) intersection before reaching Dry Creek Falls. When you approach the 4-way intersection, take a right on the spur to the waterfall. If you walked straight through the intersection, you will continue on the Pacific Crest Trail. This last 0.2 miles is the steepest of the hike. It is not too steep, but it definitely made me start breathing a little harder than the rest of the trail.
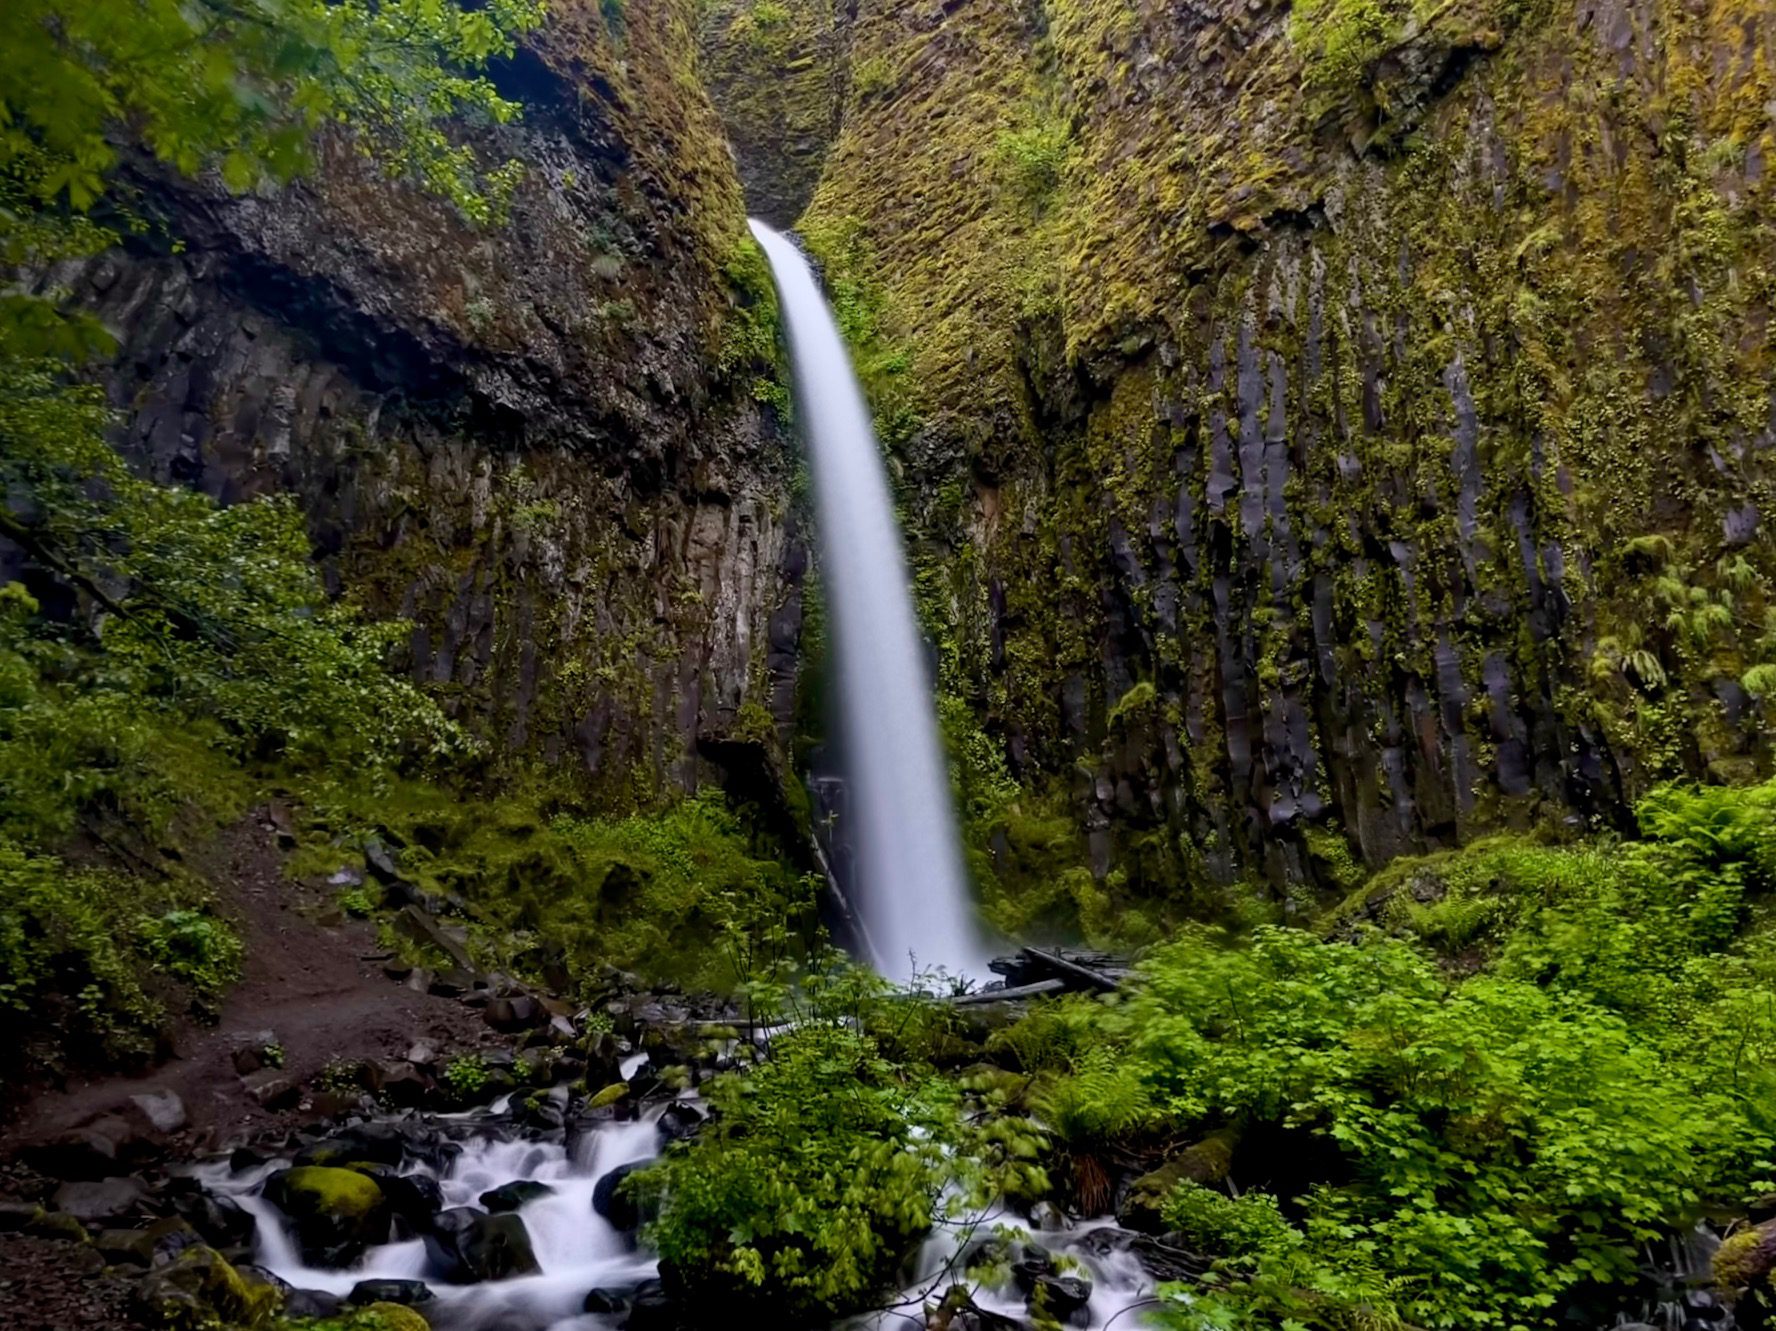
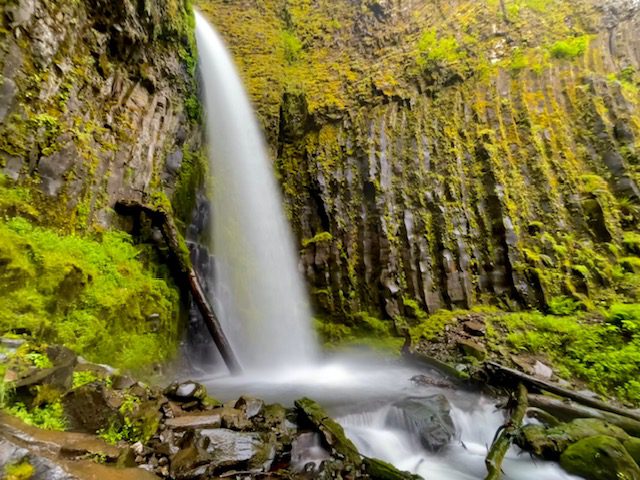
Dry Creek Falls

You have arrived! Once you get to the waterfall, there are two paths where you can get closer to the waterfall. To get to the right side, walk upwards and to the right of a very large tree stump. The path here is narrow and very slippery from the waterfall spray, so be careful.
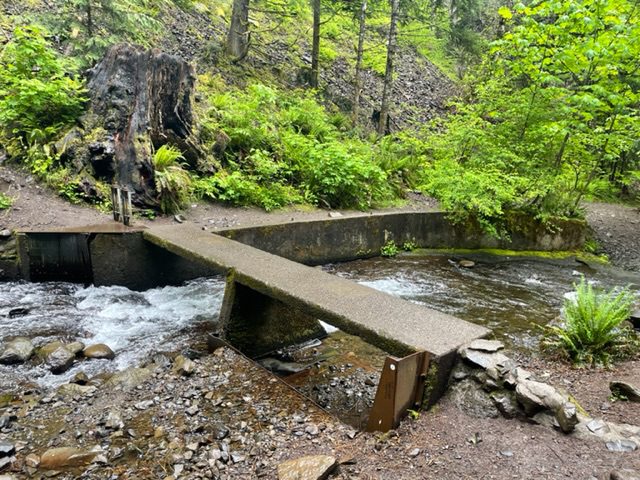
To get to he left side of Dry Creek Falls, walk across the narrow, manmade concrete bridge and walk up the dirt path. In the picture above, you can see the concrete bridge as well as the giant tree stump.
Finishing the Hike from Dry Creek Falls
After you have taken in the waterfall as long as you want (I spent 20 minutes here), then you can start the walk back to the parking lot following all the same turns you took as you walked here. The walk back will be a bit faster than the walk to the waterfall since most of the trail is slightly downhill. If you enjoyed this hike, you will also like all the Best Hikes in Columbia River Gorge.
You May Also Be Interested In
How to Hike Oregon’s Trail of Ten Falls
The Best Hikes in Oregon’s Columbia River Gorge
How to Spend 3 Days in Columbia River Gorge, Oregon
The 18 Best Things to Do in Hood River, Oregon
1 Comment
Comments are closed.